AEX18 - Extruded Pasta Recipe
With hundreds of shapes, dozens of sizes, and some very intricate designs extruded pasta can seem very complicated. In reality though, it’s just flour, water, a great quality machine and the same recipe for every shape. This one is for the Arcobaleno AEX18 Pasta Extruder, and the quantities shown below are for one full batch which is about 5.5 lbs of pasta. Like we do for all our recipes, there is a picture at every step!
Ingredients
2,000 grams Semola rimacinata flour 0r Semolina flour
700 grams water (room Temp)
Steps
1. Choose your shape by screwing in the correct die. Make sure the fitting around the die is nice and tight.
2. Open the top lid and add all the flour to the hopper.
3. In the back of the AEX18, turn the knob to MIX and press the power button on the side.
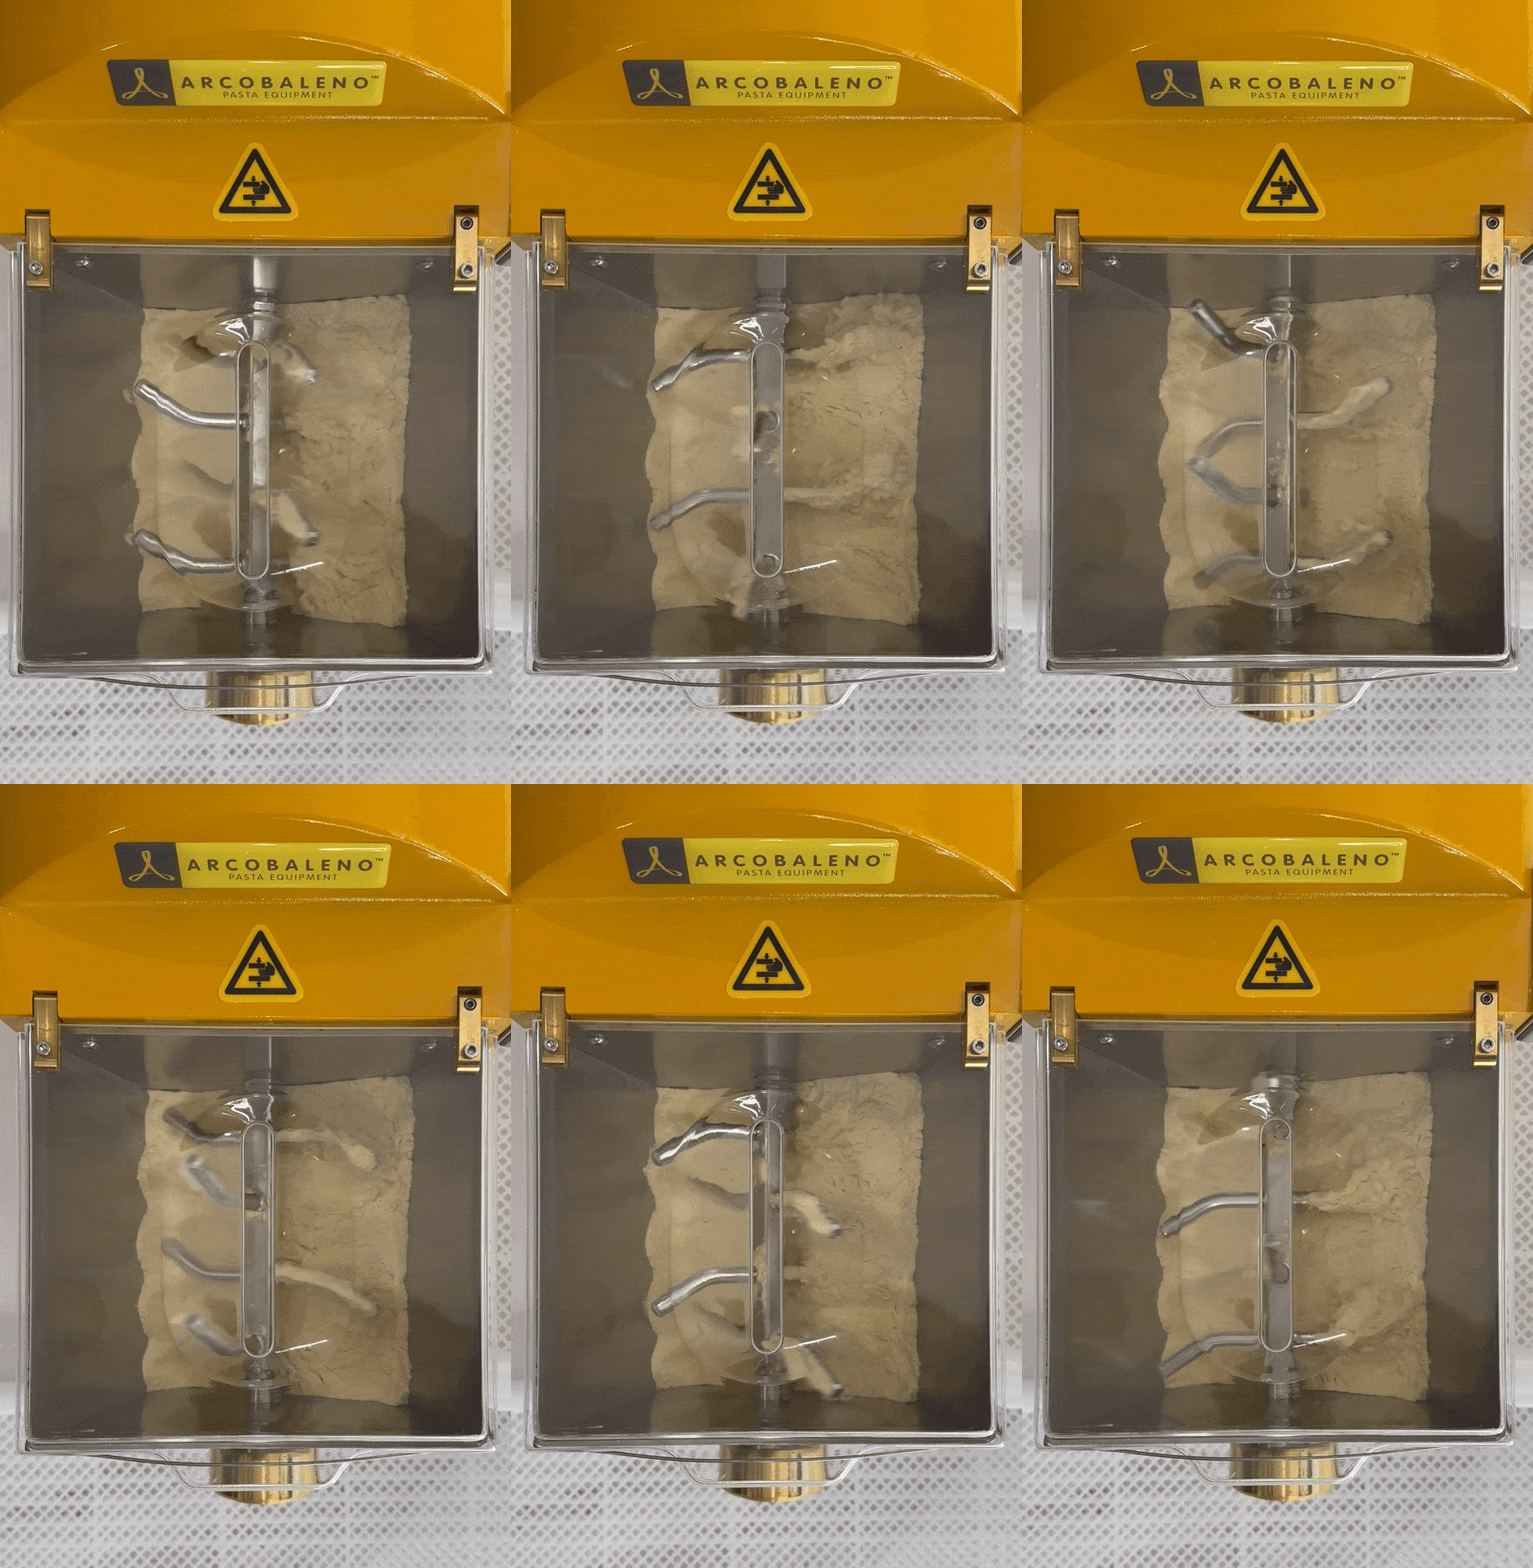
4. Slowly add the water through the top while the machine mixes.
5. Mix for about 4 minutes and then open the hopper to check the consistency of the mix. It should feel like coarse, damp, and clumpy sand, and when you squeeze it should bind together but it should also break easily. If not, mix for one more minute and repeat the same check. Press the power off button on the side of the AEX18 once mixing is complete.
6. Let the mixture rest in the hopper for about 5 minutes, and then turn the switch on the back of the AEX18 to EXTRUDE.
VERY IMPORTANT: NEVER EXTRUDE DRY FLOUR!! Make sure you only switch to EXTRUDE mode after the flour and water have mixed. Extruding dry flour is very harmful to the machine and will void the warranty.
7. Press the power button on the side of the AEX18 to begin extruding. Once the pasta reaches your desired length, use a bench scraper or a knife to swiftly cut it - preferably into a perforated tray. Please note, the first few cuts will most likely come out gnarly as the machine warms up. You can actually put the gnarly cuts back into the hopper or discard them.
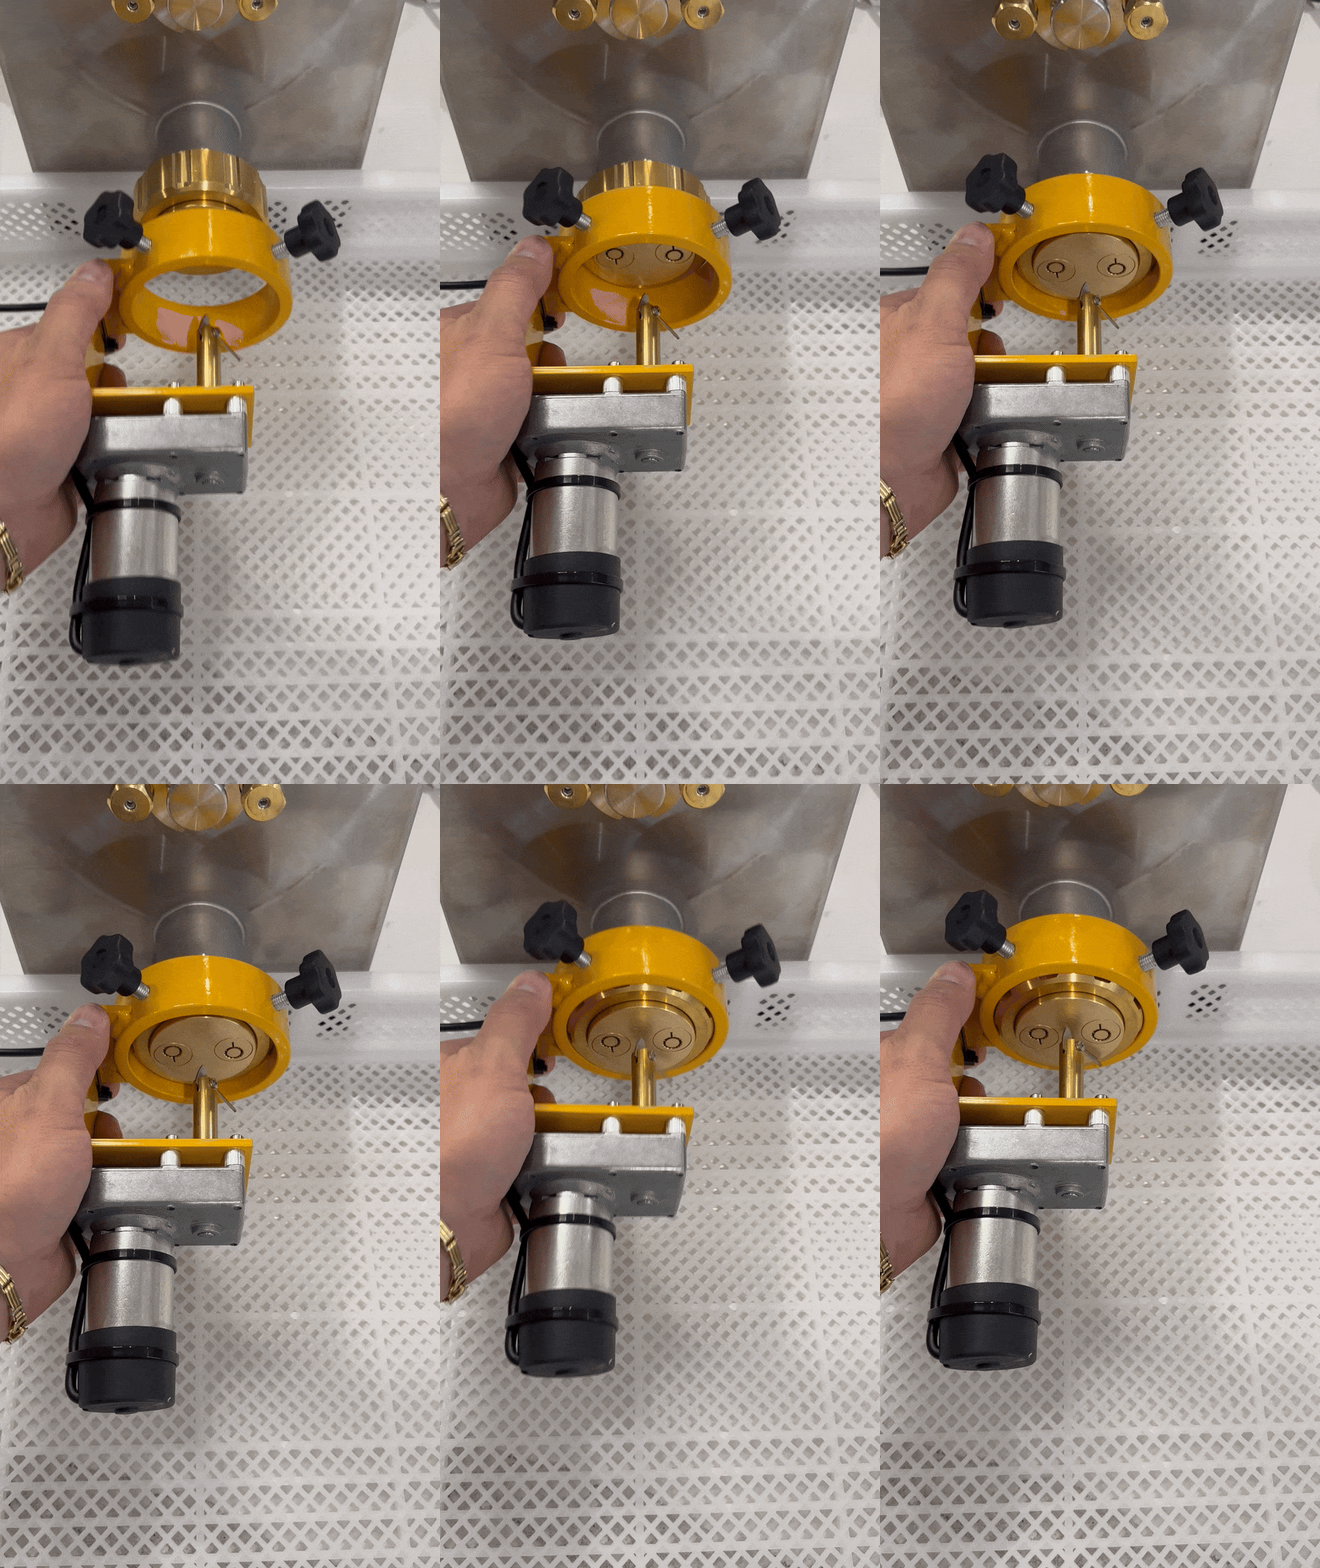
8. Long pastas will need to be cut by hand, while shorter pastas can be cut with the automatic knife (included). To use the automatic knife, complete steps 1-6 above to mix the pasta. Then, stop mixing by turning off the AEX18 using the switch on the side. Loosen the two knobs and slide the ring over the die until the spring on the knife is engaged and the knife is pushed snug against the die. Tighten the two knobs.
9. Plug the knife into the side of the machine and set your desired cutting speed.
10. Turn the switch on the back of the AEX18 to EXTRUDE, then press the power button on the side of the AEX18 to begin extruding.
STILL VERY IMPORTANT: NEVER EXTRUDE DRY FLOUR!! Make sure you only switch to EXTRUDE mode after the flour and water have mixed. Extruding dry flour is very harmful to the machine and will void the warranty.
11. The knife will begin to spin at the preset speed. Make speed adjustments by turning the knob on the side of the AEX18. Depending on the shape and how long you are extruding, you may have to adjust the knife speed periodically during extruding because as the surface heat of the die increases the extrusion rate will also increase. Then, similar to step 7, the first few gnarly cuts or any cut at an undesirable length, can go back into the hopper or get discarded.
12. Once you have your speed zeroed in, sit back and watch your AEX18 produce about 5.5 lbs of fresh pasta!


